This page follows a more blog-like format, where I’ll be casually talking about my process, the things I like, don’t like, pitfalls, etc. Feel free to take inspiration or replicate my process if you’d like. My ceramics journey owes a lot to free online resources; this is part of me trying to pass it on.
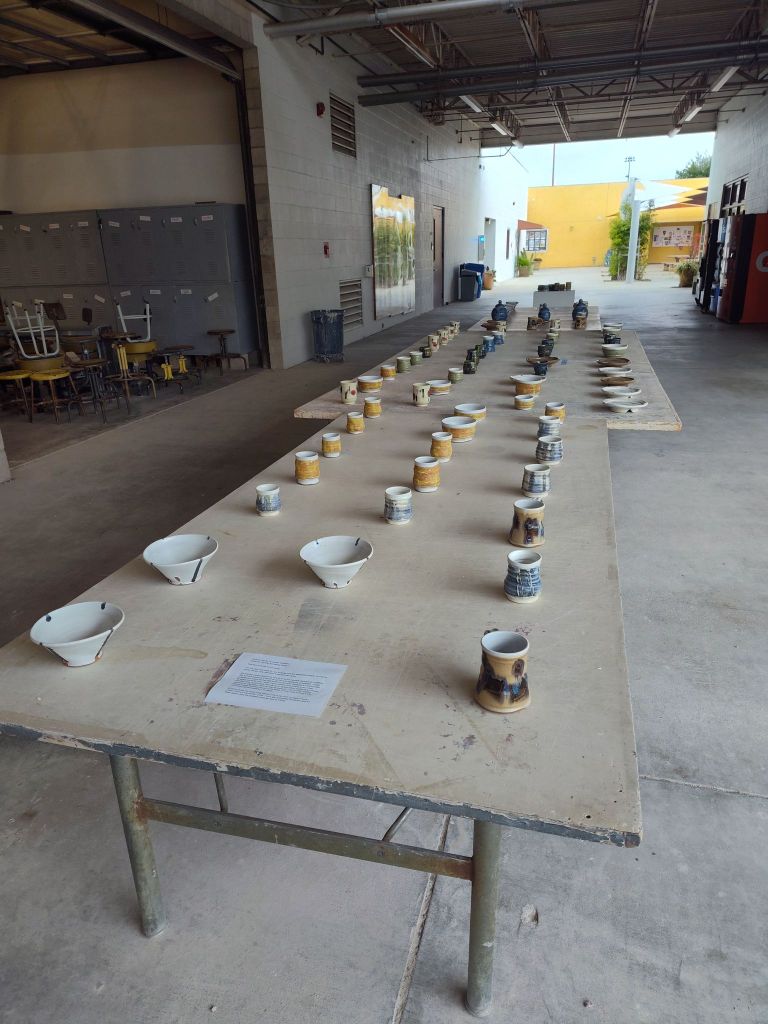
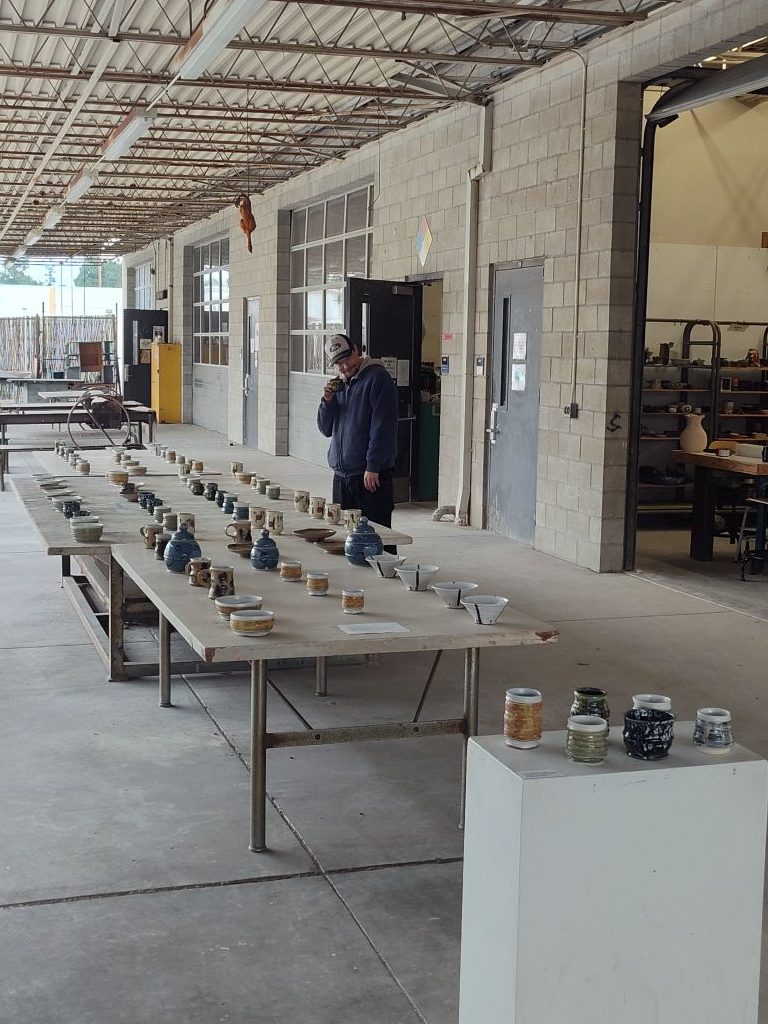
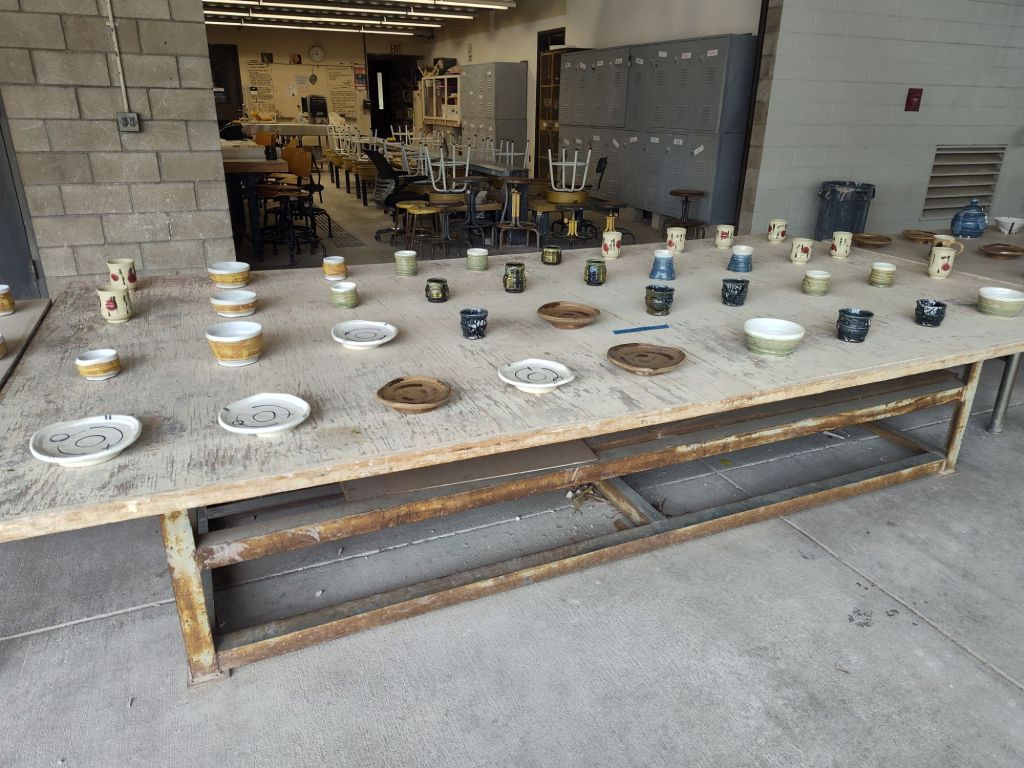
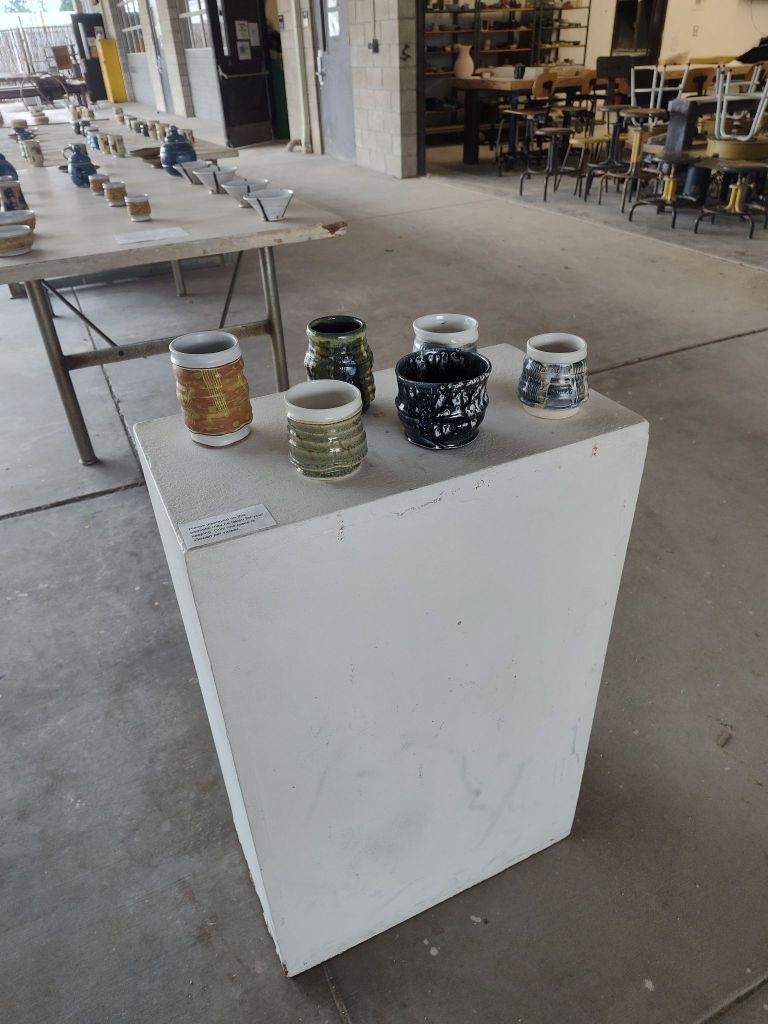

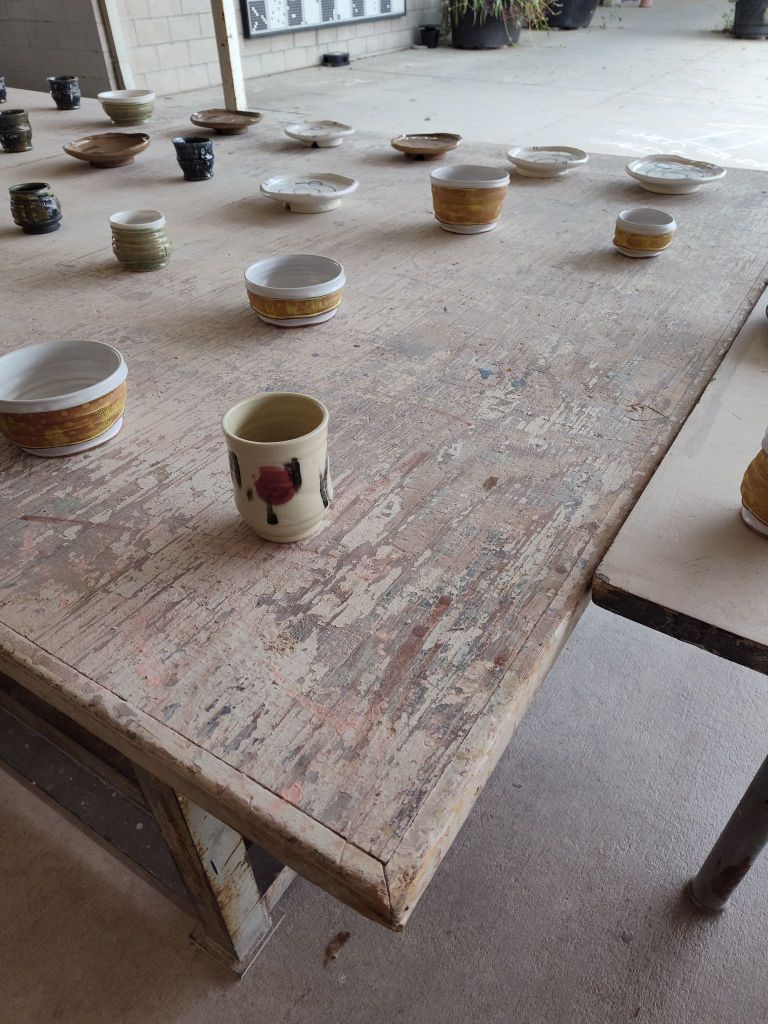
Display for CSUN Open Studios
MAY 2025
I wanted to use open studios to practice showing my work, and to experiment with giving away work.
The large tables had work set out for display, and people were welcomed to handle the pieces. I put a small pedestal in front of the tables with 6 pieces that viewers could take freely if they wanted to. After the first two were taken I refilled those positions (2 pieces didn’t fit onto the table array).
I overlooked the display until all 8 available pieces were given away. I was reassured that people were pretty eager to get a free pot, as I had a tougher experience giving away pieces to the CSUN faculty during my first review. Some people had trepidations at first, but seems genuinely excited after I reassured them that the pieces were there to be taken.
It was really useful to see those interactions with the viewers, and I’ll definitely expand on that interactive aspect to my work in future exhibitions.
I was a bit peeved by how the didactic text looked, but I’ll improve on that in the future.
Experimenting with plates
MARCH 2025
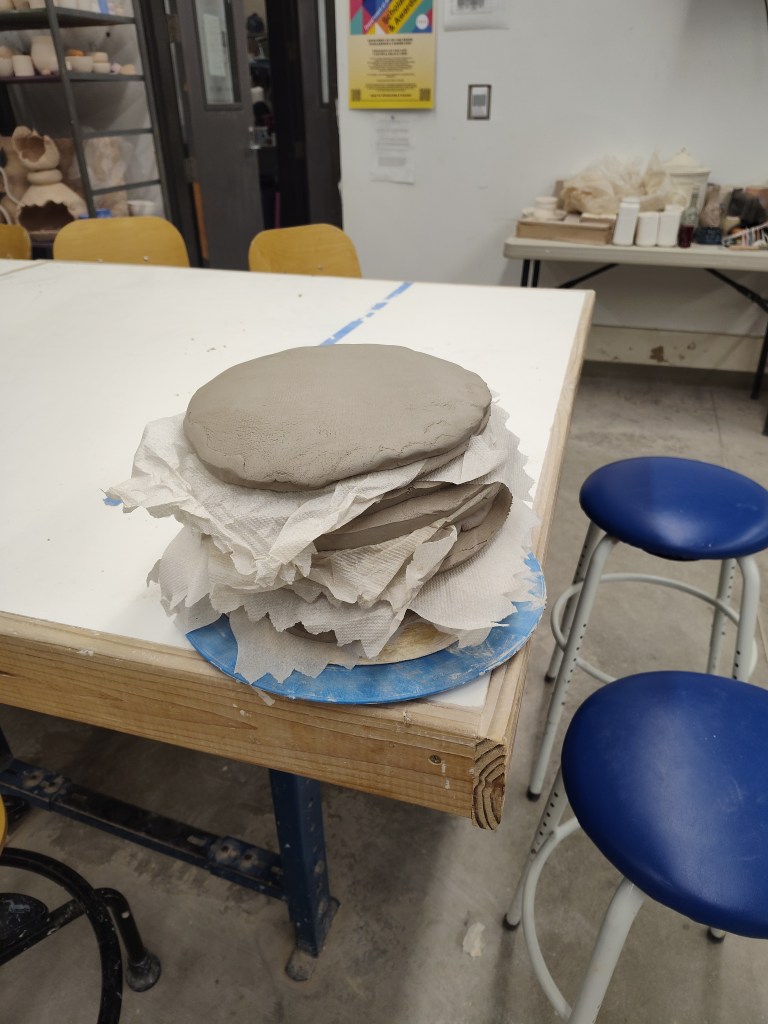
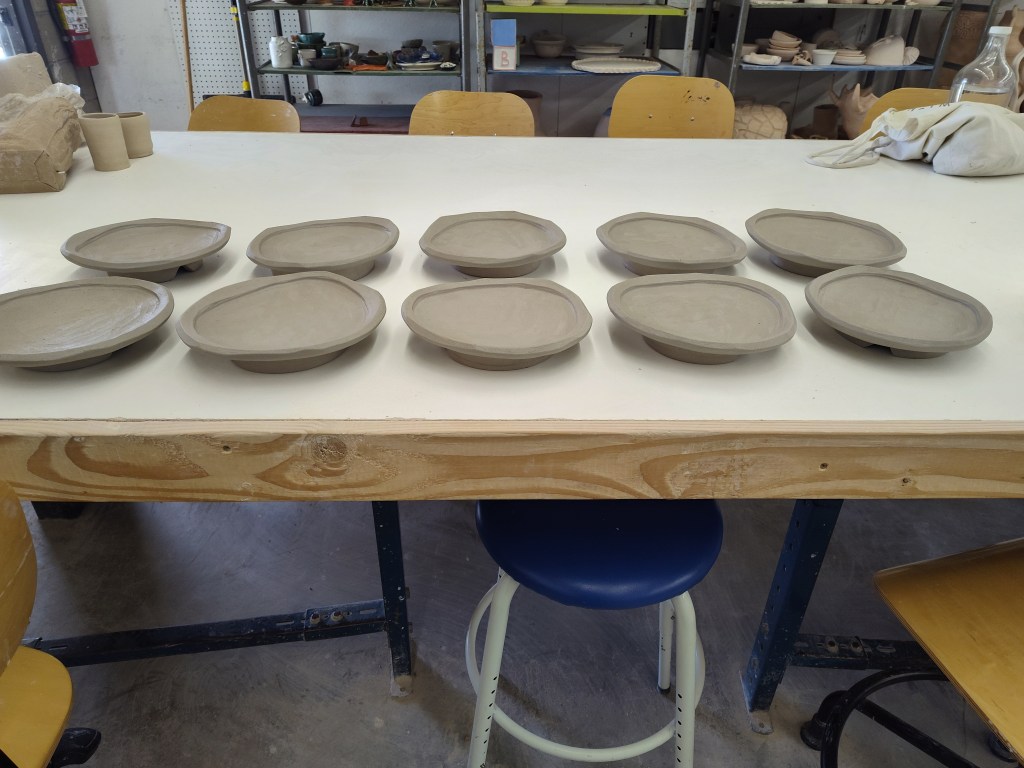
Since starting at CSU Northridge, I haven’t made many plates. In part that’s because I find them annoying to make, but I also lack the bats or space that I’d like for making plates. So to try and alleviate some of those issues, I’ve gone about a new way of making plates.
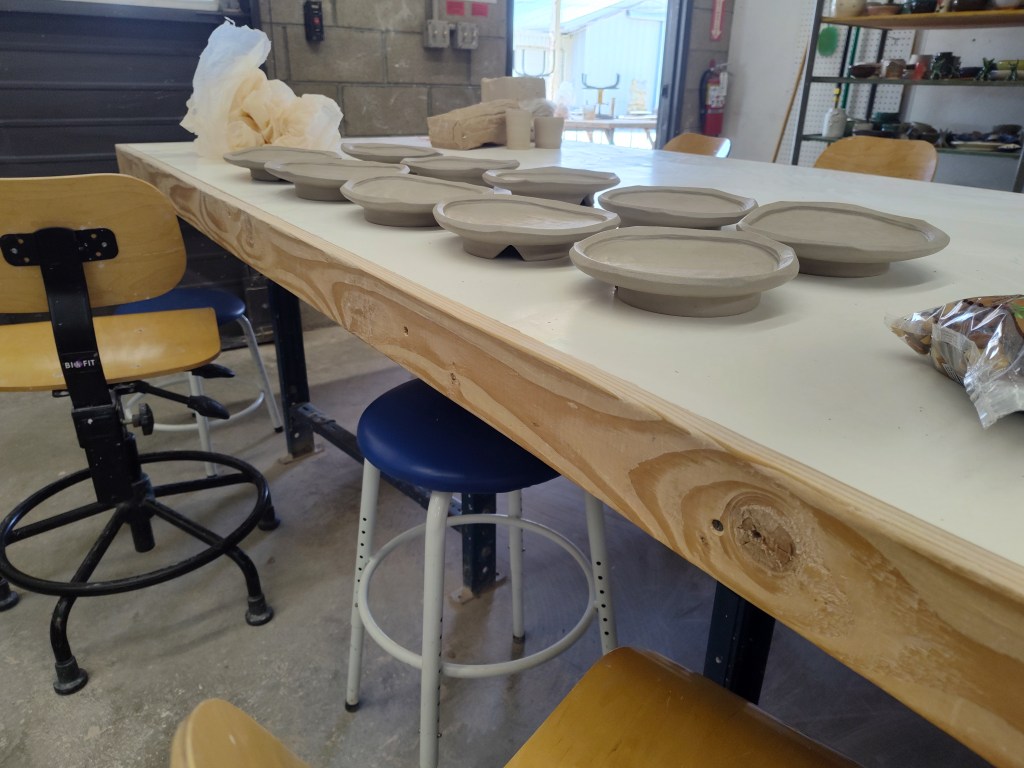
The process begins with rolling out a thick slab, roughly 3/8-1/2in thick, and cutting out rough circles of a certain size. These circles are stacked on a slump mold with paper towels seperating them so that the whole stack can be secured to a wheel. Once on the wheel, a coil is added to the top slab and thrown to create a round foot. I made these feet pretty big.
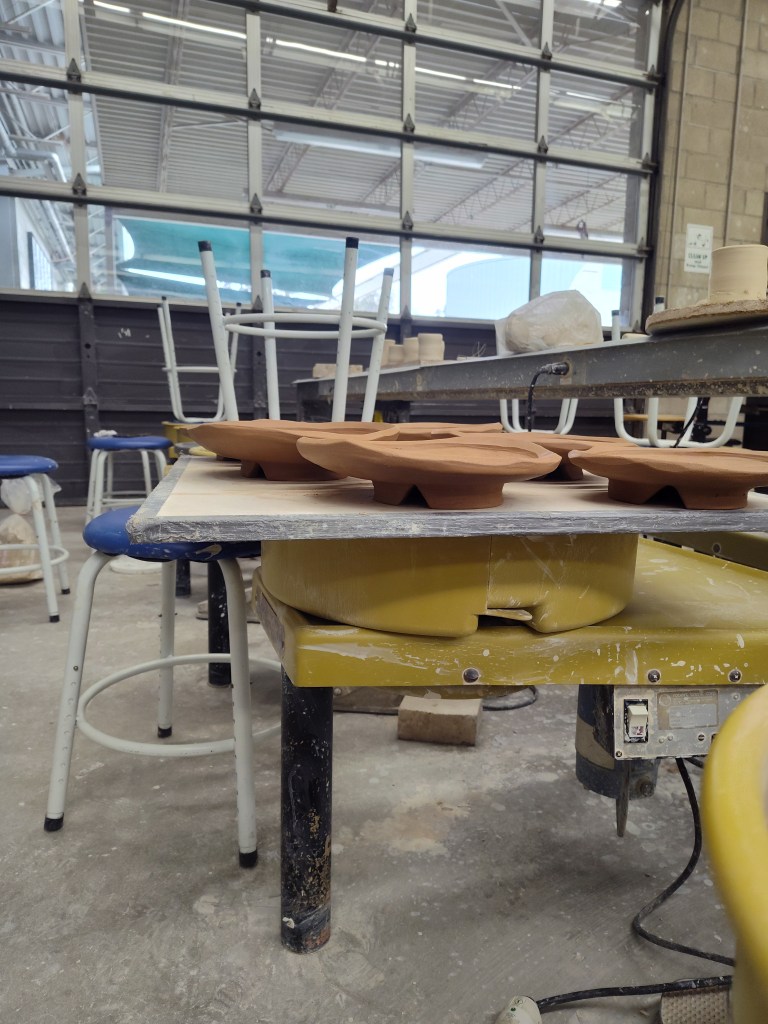
The top plate with foot is quickly blasted with a heat gun so that it can be removed without warping. The center of the plate is carved out with a large trimming loop tool, and the edges are shaved down with a knife and rasp. I chose to cut a large notch into the feet as well. Everything gets a smooth over with a sponge and rubber rib or fingers.
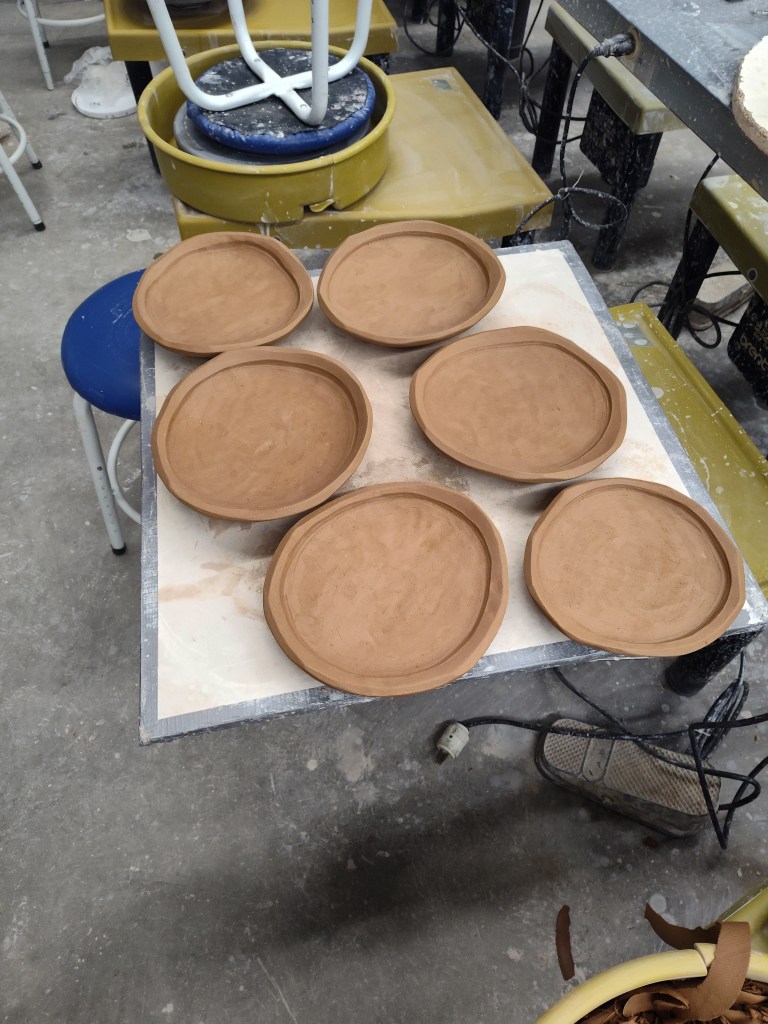
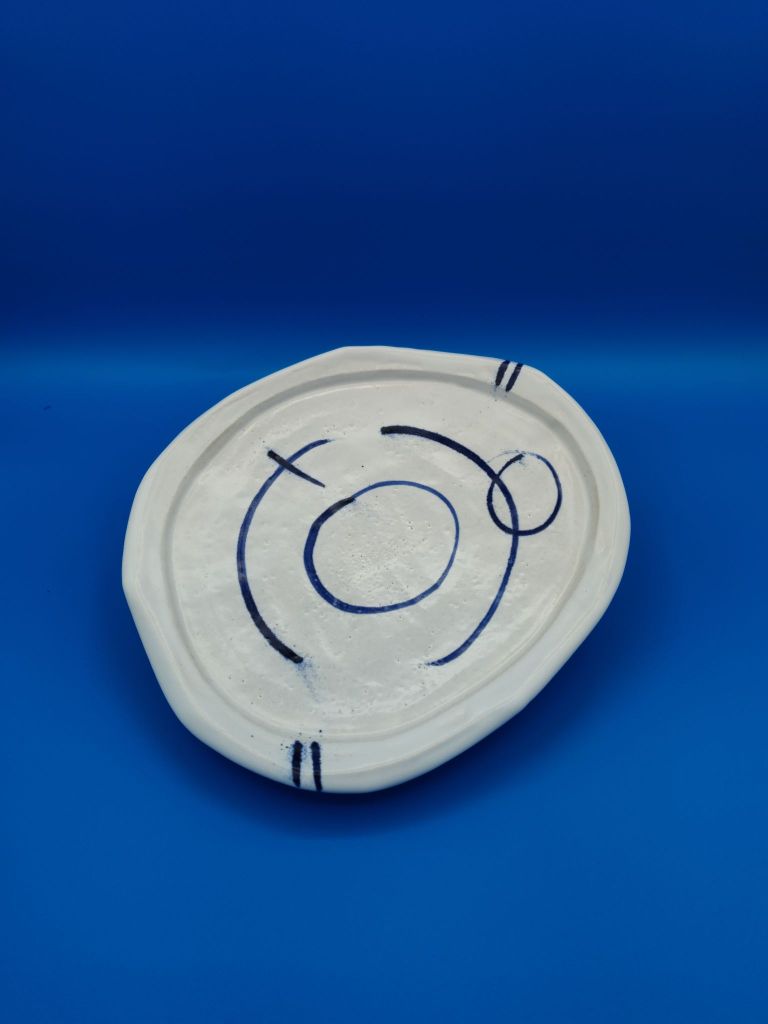
I made my first batch with the brown clay pictured, and it was a bit of a learning process, but the second batch went really well. They’re pretty time and space efficient for me, and I think I like the oprganic shapes. I’ll likely make more but I might make a slump mold I prefer better than the one I used for these batches.